Set your user preferences. You usually only set user preferences once per user.
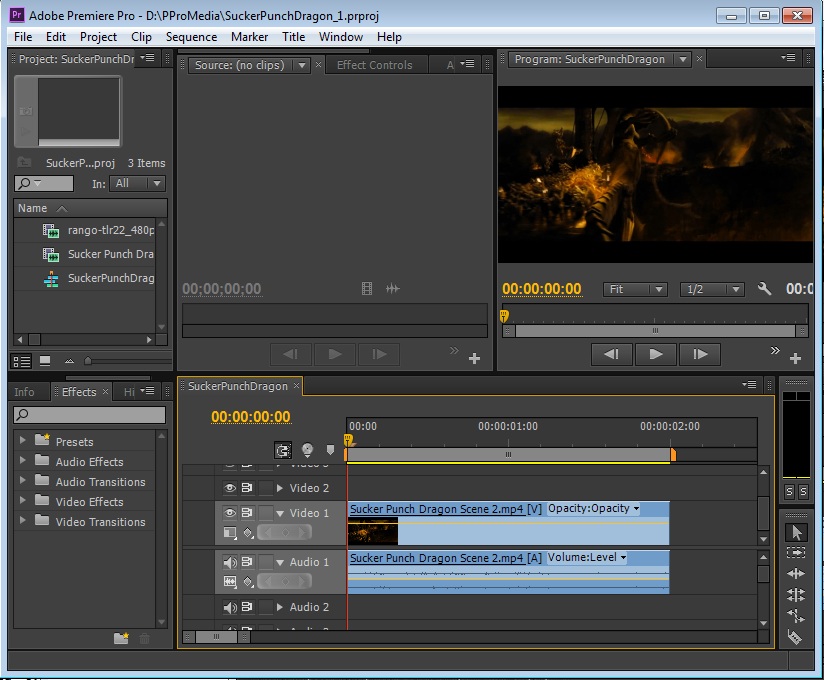
You need to select your time line (outline in yellow below).
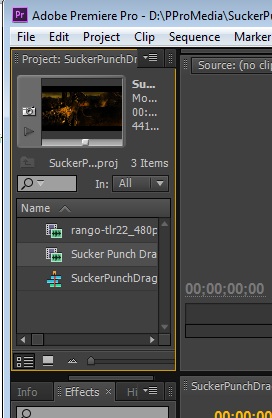
Alternately you can select a file in the Project Bin (screen shot below this one)
Alternately you can select a file in the Project Bin
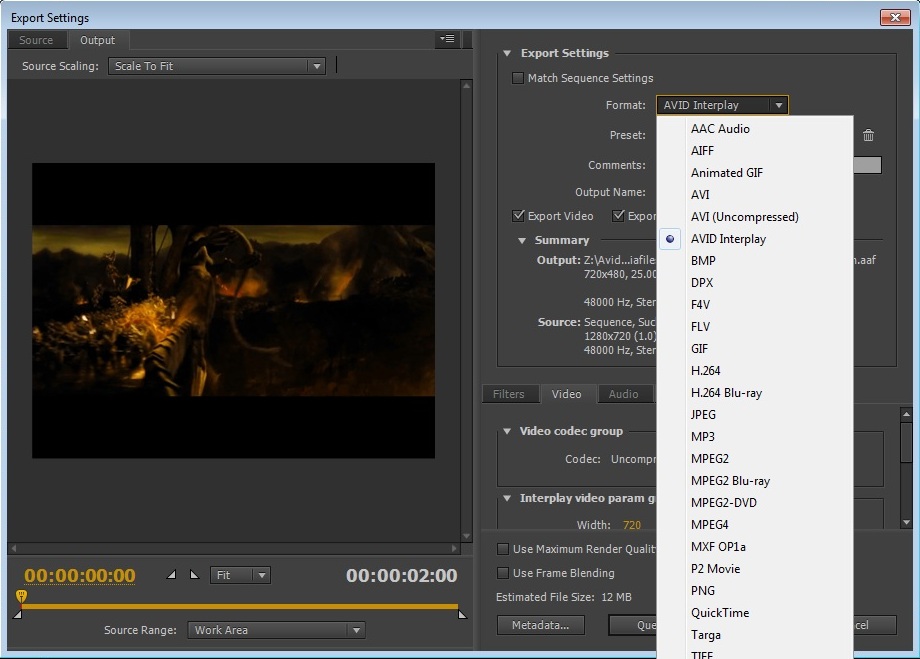
In the Format pull down select AVID Interplay.
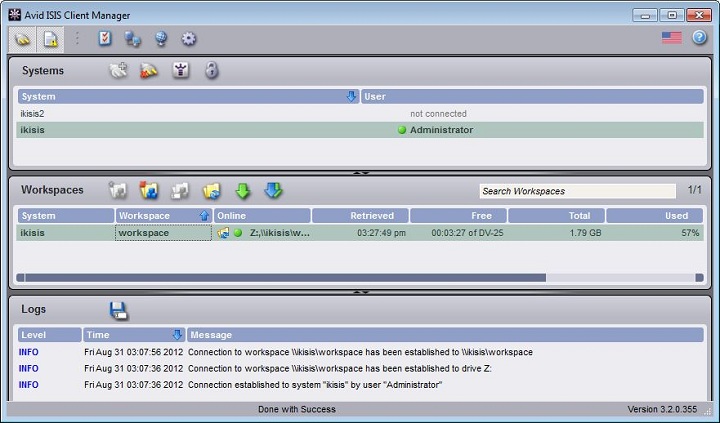
You should have already mounted the ISIS as a letter drive (usually Z:)
click here for ISIS client info
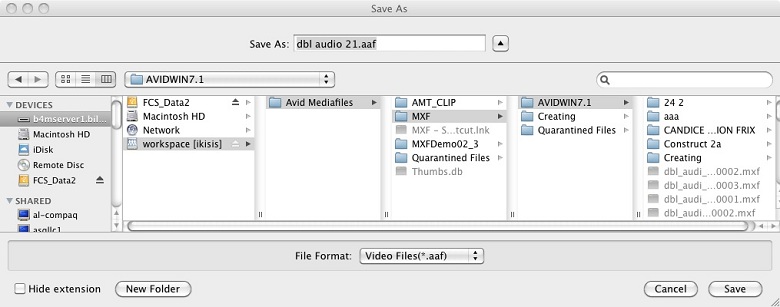
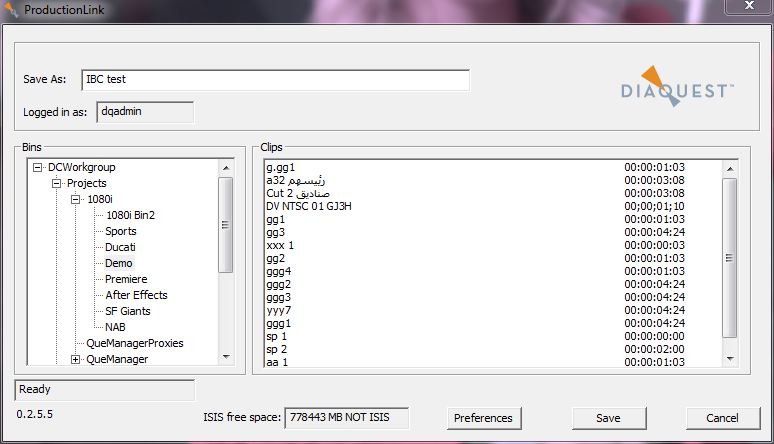
You click on the file name to set the name and path.
The ISIS path is usually something like Z:/Avid Mediafiles/MXF/computername.1
You can save to another path if you do not have ISIS.
PC

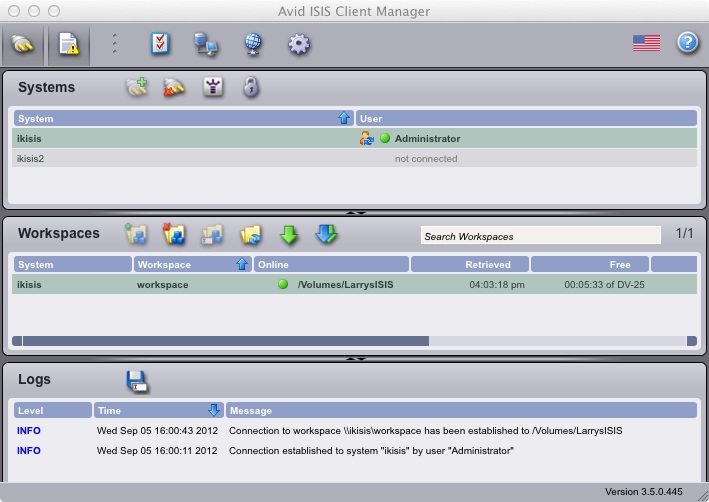
MAC
This is very important as Premiere can cache previous settings.
These cached settings might have nothing to do with this render.
Please check EVERY setting!
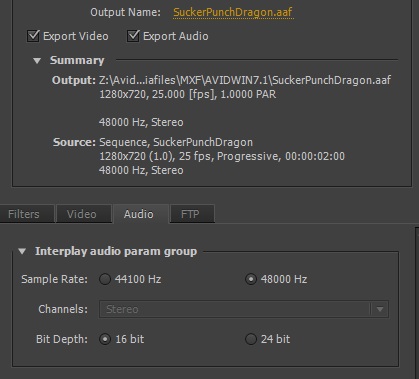
Usually you want to match the Source: settings so verify that Output matches Source:
You may need to make the Export Settings dialog taller or scroll to see all the settings.
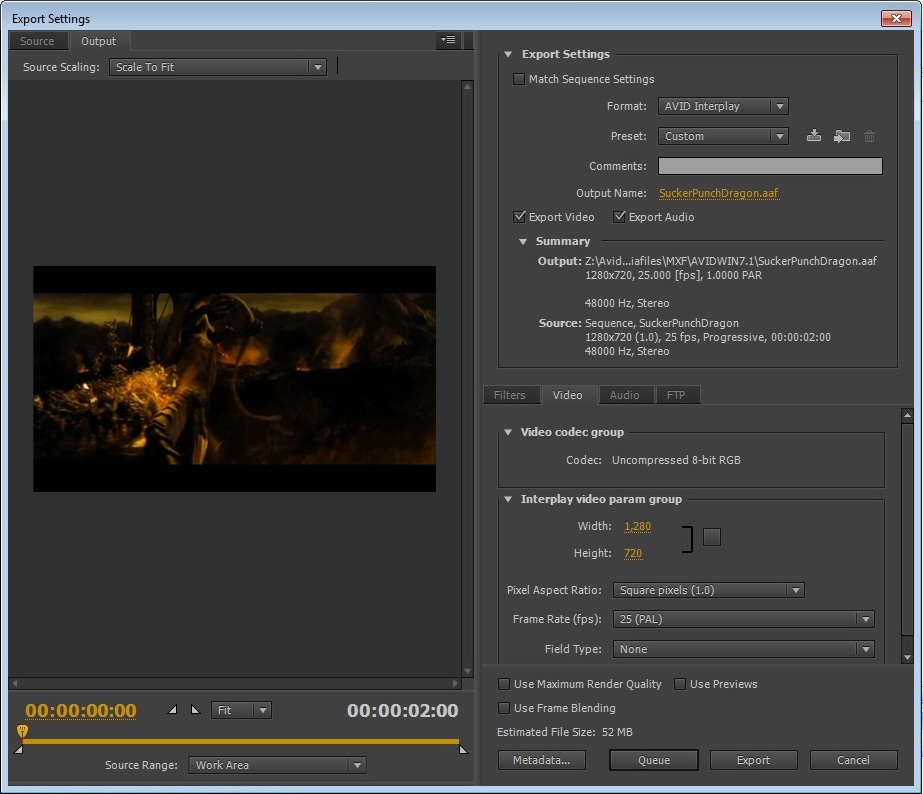
Usually you want Pixel AspectRatio: to be Square Pixels (1.0) but use what you know to be best.
Field Type: None is Progressive. If you are using 1280x720 then use None for Field Type.
NTSC is Field Type Lower First.
PAL is Field Type Upper First.
1080i is Field Type Upper First.
1080p is None.
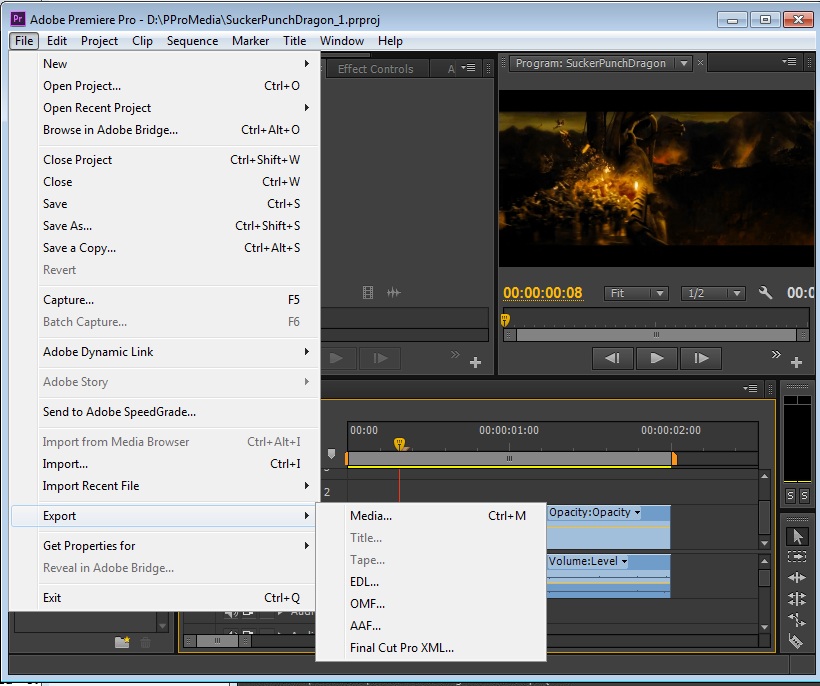
You could alternately have pressed "Queue" to send the export to Adobe Media Encoder.
If you are using Adobe Media Encoder then you MUST get all the settings right here.
Settings are much harder to change properly later inside Adobe Media Encoder.
Note that we are navigating the actual Interplay tree database structure.
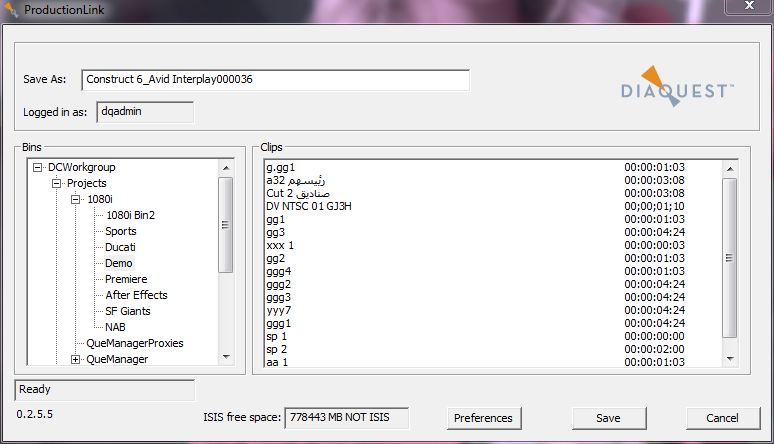
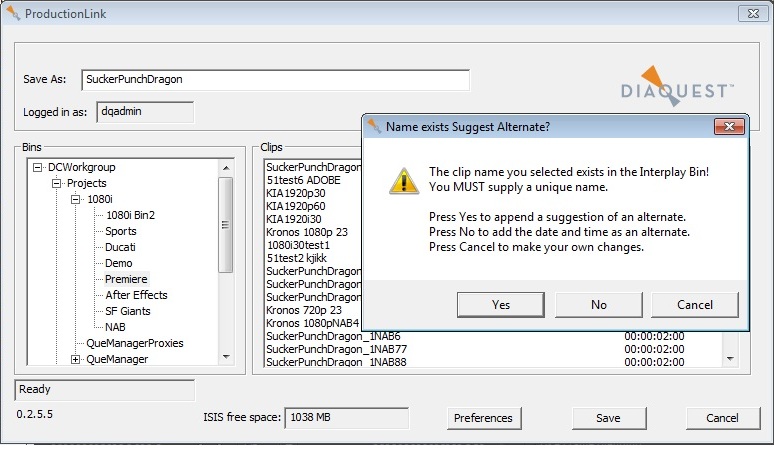
You can choose to have random characters added to the name or you can change the name yourself.
This will be either something like a Z: drive on a PC or /Volumes/workspace or such on a Mac.
PC
Mac
The ISIS path is usually something like Z:/Avid Mediafiles/MXF/computername.1
You can save to another path if you do not have ISIS.
PC
MAC