Here is a Walk Through for Scratch ProductionLink:
- Install ProductionLink
- In the Construct, Select Output and a Node.
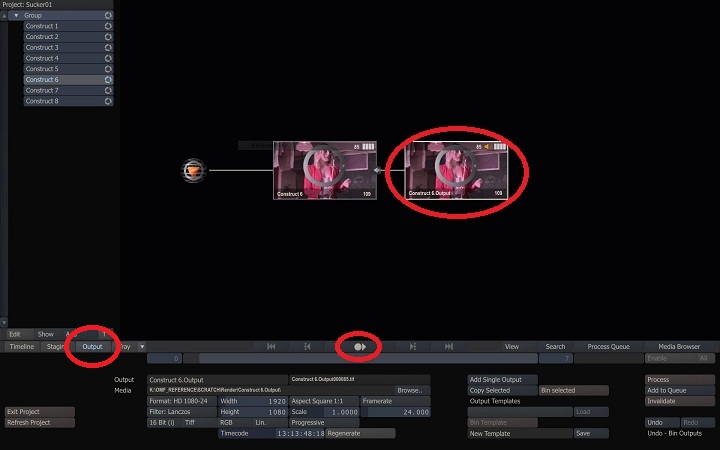
- Press the special Play button to enter the node.

- You may have to press Add Single Output first if there is no node.
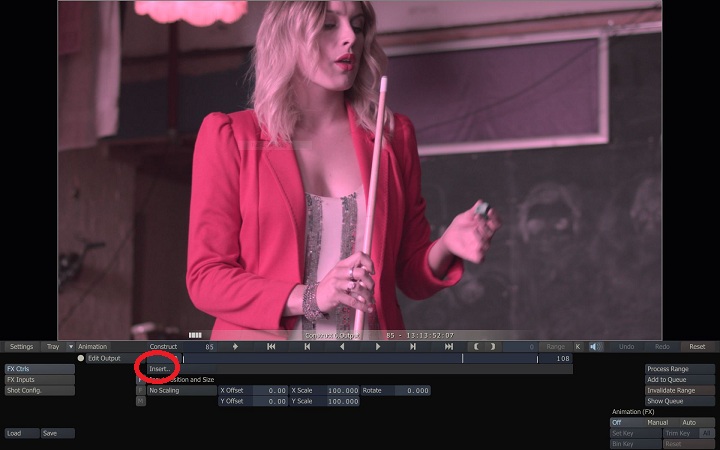
- If this is your first time in this Node, press Insert to bring up the Scratch plug-ins dialog.
- click on the Diaquest Avid Interplay SPA plug-in and press Apply Selection if needed.
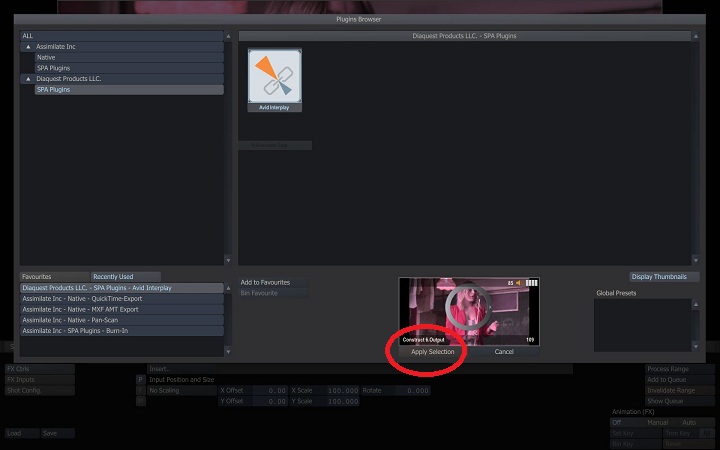
- You now see Interplay buttons in the Scratch interface.
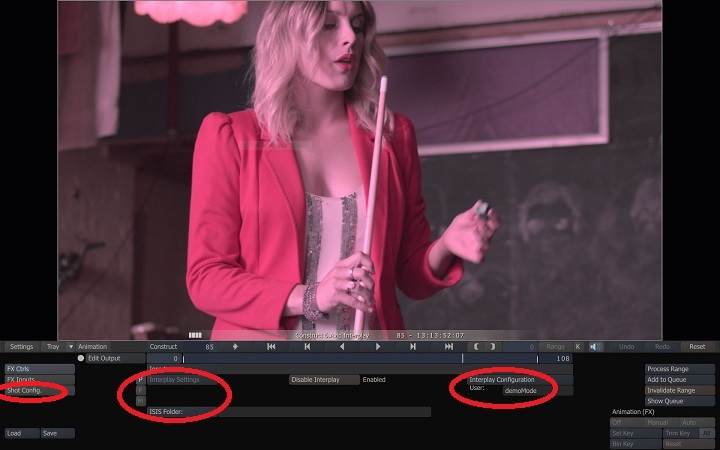
- Press Shot Config (lower left) to get the Shot Config settings.

- We need tiff 8 bit RGBA so make sure that those settings are made.
- We are not actually using tiff but please use that setting.
- Set your size and frame rate. Use 1080 or 720.
- Double check your frame rate.
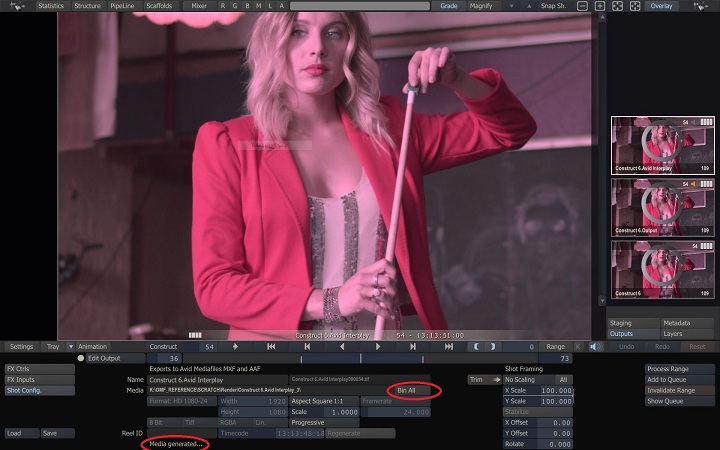
- Verify your settings and make sure that you see Browse.
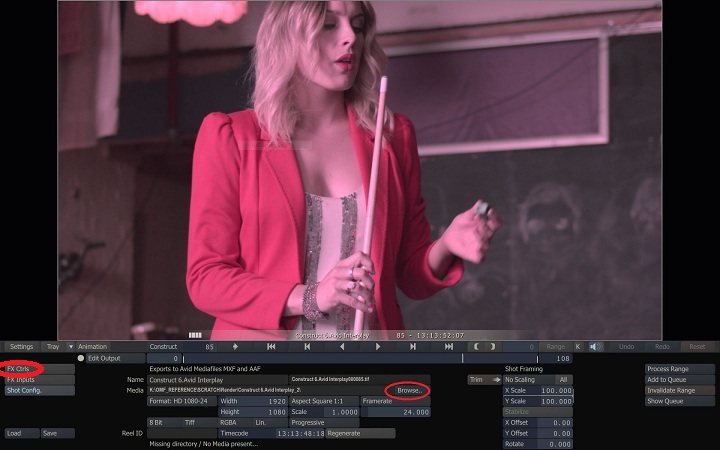
- If you see Bin All instead of Browse, then click Bin All and Yes and OK at right and OK Yes.
- Now click FX Ctrls to get back to the Interplay buttons.
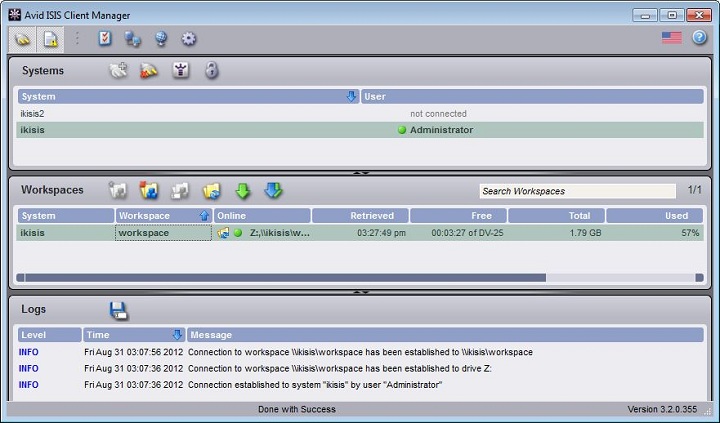
- If you are using an ISIS you have already used Avid ISIS Client Manager to mount the ISIS.
This will be either something like a Z: drive on a PC or /Volumes/workspace or such on a Mac.
- Back at the Scratch Interplay settings you will press the ISIS Folder: button and set ISIS export path
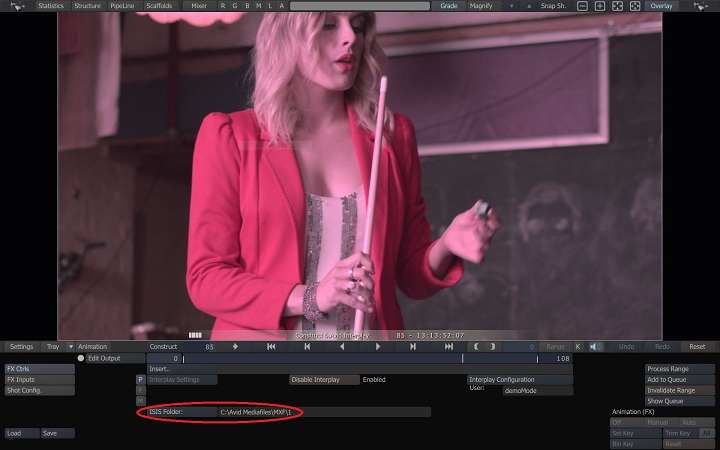
- Usually you will use something like for PC
Z:/Avid mediafiles/MXF/COMPTNAME.1
or for Mac
/Volumes/workspace/Avid Mediafiles/MXF/COMPTNAME.1
I am using a local drive as this computer does not have ISIS access.
That is OK too if Interplay transfers renders to a local Media Composer for example.
You should have already mounted the ISIS as a letter drive (usually Z:)
click here for ISIS client info
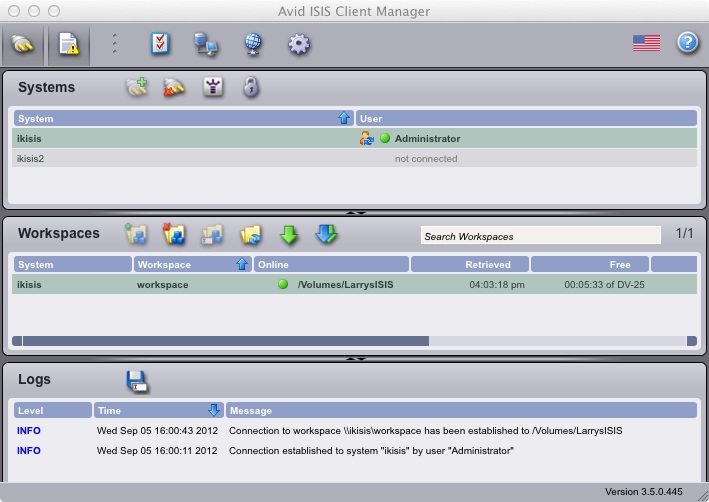
Here are some Mac screen shots for ISIS selection:

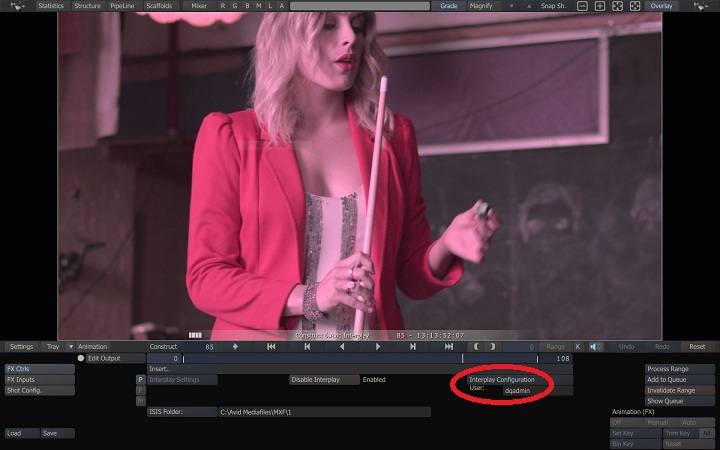
- If needed you can press Interplay Configuration to set the Interplay license and user name, etc.
If you need more info please see Install ProductionLink
Then the Interplay user name will show and you are ready to use Interplay.
- Now we can set our range by moving the time line play head (red)
We can set in and out points (orange)
We can check that audio is on (green)
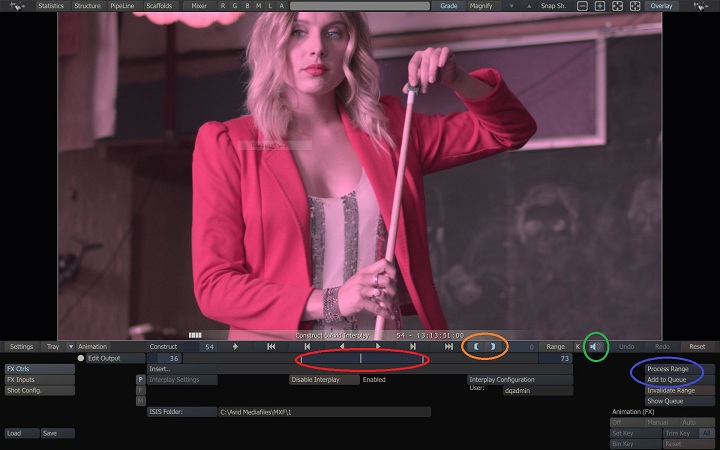
- Finally we press Process Range to start our export.
- This brings up the ProductionLink Interplay bin tree browser dialog.
Note that we are navigating the actual Interplay tree database structure.
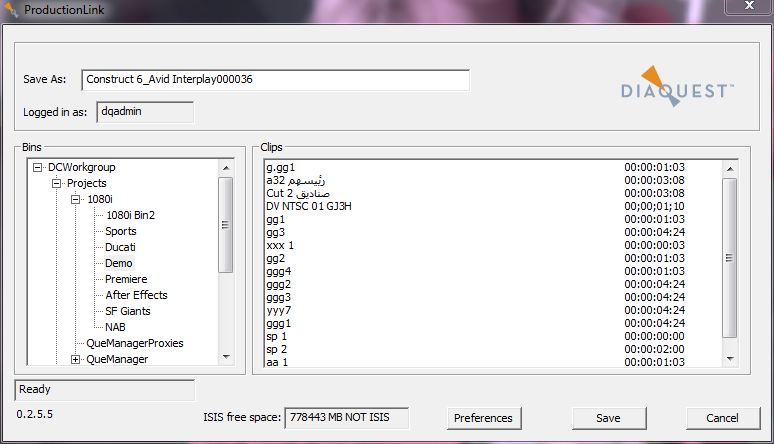
- Note that the default name is the name set in the construct or the last export.
- We will set IBC test for the name of this export.
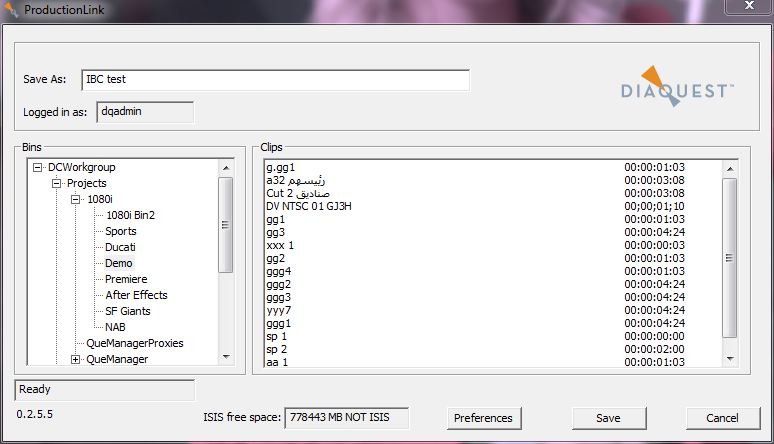
- Now the export renders to the ISIS and completes.
- Now, if we go back to Shot Config we see Bin All instead of Browse.
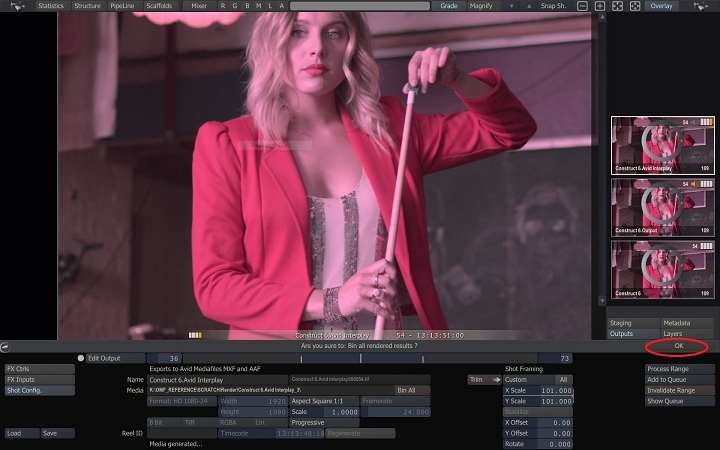
If we want to render again (repeat export) we need to Bin All, Yes and then OK and Yes.
Since we put the media in the ISIS and Scratch does not know that, no media is actually erased.
press OK (and yes) again.
Don't worry if Scratch says Missing Directory / No Media Present as we know that and it is OK.
Our media is elsewhere.
You can not go back to FX Ctrls and Proccess Range again.
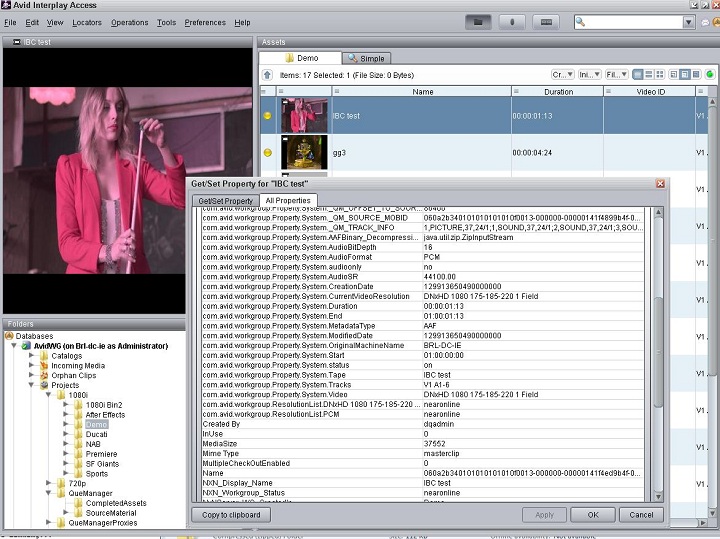
- Looking in Avid Interplay Access, our export is there with metadata.
Audio:
To add audio you right click inside a node and click on Edit.
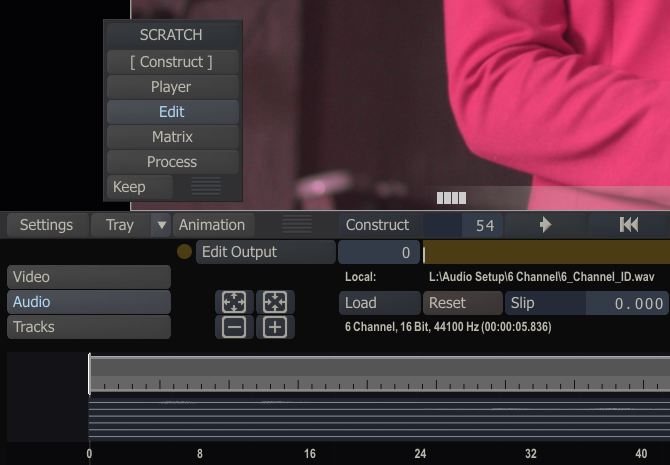
Click Audio in left column and then Load.
You can then browse to your audio file. The formats are WAV AIF BWF only.
You need to enable channels in the Mixer.
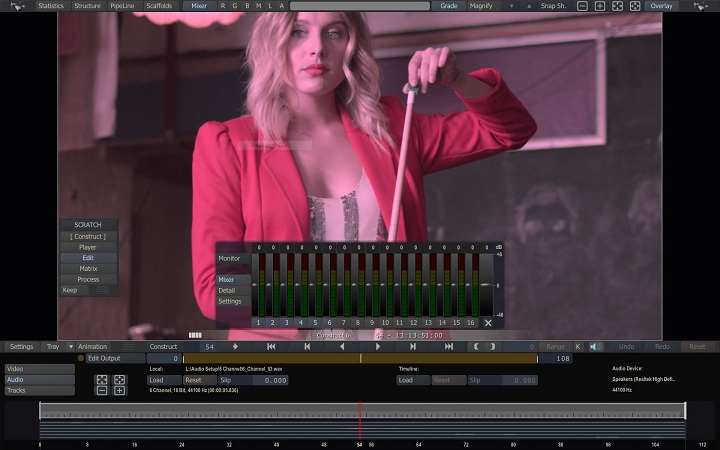
To get the Mixer you swipe the mouse to the top of the screen.
Then press Mixer in the menu.
The enabled channels will be highlighted. In the above image channels 1-6 are enabled.
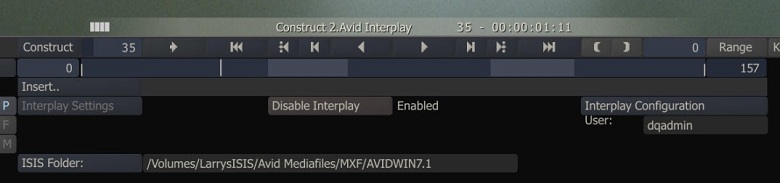
If you are using an ISIS you have already used Avid ISIS Client Manager to mount the ISIS.
This will be either something like a Z: drive on a PC or /Volumes/workspace or such on a Mac.
PC
Mac
The ISIS path is usually something like Z:/Avid Mediafiles/MXF/computername.1
You can save to another path if you do not have ISIS.
Here are some Mac screen shots for ISIS selection:
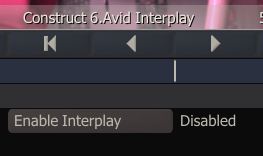
Disable Interplay:
If you press the Disable Interplay button and Yes then Interplay will be disabled.
This is different than Demo Mode as you can render AAF and MXF, perhaps directly to Media Composer.
You would then press Enable Interplay to enable interplay again.
Status is shown next to the button.